How to Use the Email Composer
Overview
Once you have selected your Template, the Enquiry Wizard moves you to the Email Composer. This is where you review, personalise, and finalise the email before it is sent. If you have used email software like Outlook before, you will feel right at home here — the experience is very similar, with a few added features specific to the system.
The Email Composer Layout
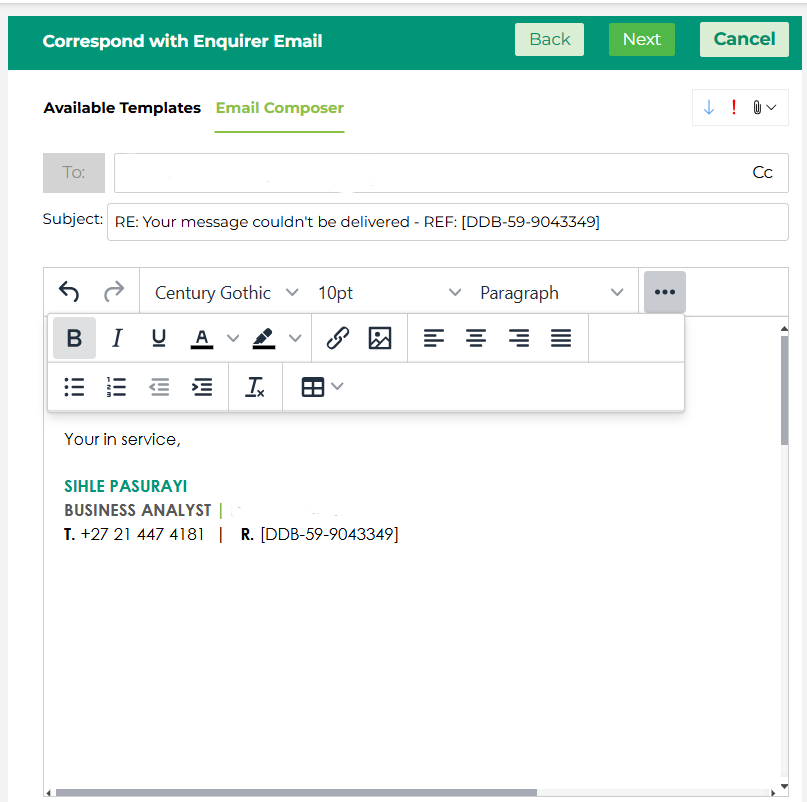
At the top of the panel you will notice two tabs — Available Templates and Email Composer. You are now on the Email Composer tab, which is where you do the actual writing. If you need to go back and choose a different template, you can click the Available Templates tab to return to that step.
The composer includes the following fields:
To: This is pre-populated with the enquirer’s email address. You can add additional recipients if needed, and use the Cc option on the right to copy someone in.
Subject: The subject line is automatically populated and will include the enquiry reference number. This ensures the enquirer’s reply can be correctly identified and linked back to the enquiry in the system. Avoid removing the reference number from the subject line.
Email Body: This is where your email content appears. If you selected a Template in the previous step, the body will already be pre-populated with that Template’s content. You can edit and personalise it as needed before sending.
Formatting Your Email
The toolbar gives you everything you need to format your email clearly and professionally. You have access to font style and size, paragraph formatting, bold, italic, underline, text colour, highlighting, bullet and numbered lists, indentation, alignment, hyperlinks, images, and tables.
If you need access to additional formatting options, click the three dots on the right side of the toolbar to expand the full set of tools.
Alongside the standard formatting toolbar, you will notice three icons in the top right corner of the composer panel:
Attachments (paperclip icon): Use this to attach files to your email before sending.
High Importance (exclamation mark icon): Use this to flag your email as high importance. This is useful when the matter is urgent and you want to make sure it stands out in the recipient’s inbox.
What Should You Do Here?
Read through the pre-populated email carefully and make any changes needed to personalise it for the enquirer. Check that the recipient, subject, and content are all correct before clicking Next to proceed.